
Preparing the folio and cover:
Start by deciding what your cover will be, so that your paper inside will fit. (Or, depending on your paper, cut the cover to be a little larger... :)
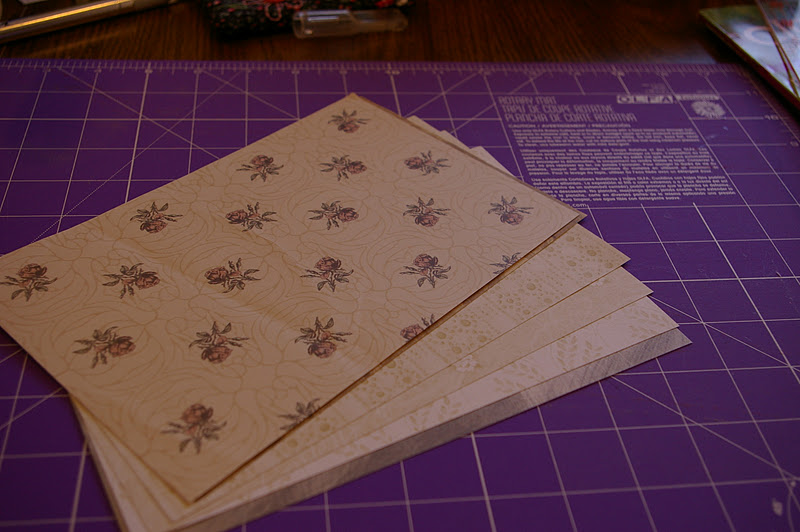
I just took an 8 1/2 x 11 sheet, and cut them in half. Depending on the book, will depend on how many sheets you want in your folio.

One set of folded papers together make up a folio.
You will also want to score the cover (depending on how stiff it is, so that it will fold neatly).


Scoring the page gives you a neat, straight fold line.


Then, fold the cover, and

center the folio inside the cover

And using a sharp 'poking' tool, we are going to poke holes right through the centered fold, from the inside out.

Just like this:

make sure that you firmly hold the pages and cover together so that the holes don't slip and become mis-aligned.

Depending on the length of the spine, will depend on the number of holes you will make. I made 5, about an inch apart.
Sewing the binding:
Next. Get a needle and thread (you will want this to be more like string, not sewing thread. Thicker, stronger--like embroidery floss)

Start sewing from the inside, needle going from inside the fold, coming outside on the spine.

Leave a 2-3 inch tail inside the book. You will tie this together with the other end when you are done sewing the binding.
See the following diagram for how to sew: you can add or subtract the holes drawn on the right hand side of the diagram...

When you finish with step nine, the INSIDE of your book should look like this:

and a close up:

tie the string together, in a simple double knot, keeping it small so that it isn't bulky in the binding

And then you are done! The spine will look like this:

and the inside of the book will look like this:

Tada!
I hope that your project turns out Wonderful :) I know it will be loved!